
Pergola Kit Install, Step 3 of 12: Square Up the Posts
Step 3 of 12 in our DIY timber pergola kit install series: squaring up the posts. Before a single post goes up, you mark exactly where each one lands and confirm the layout is square, so the beams, knee braces, and rafters all fit the way they were cut. Western Timber Frame™ has shipped more than 7,000 structures since 2008, and a square layout is the step that makes every one of them go together cleanly.
What this step covers
- Measure the pad. In this example the concrete patio is just over 10 feet across, and the posts are set 9′ 10″ apart, outside to outside, so each post sits about 1¾ inches in from the edge.
- Mark the post locations on the slab.
- Square the layout with a laser square, the 3-4-5 method, or by matching diagonals (all three are explained below).
- If you’re ever unsure of the spacing, measure the beam itself, as shown below.


Three ways to check for square
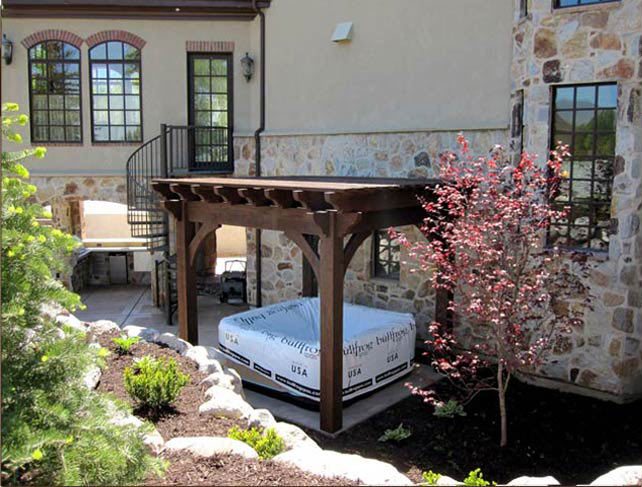
A laser square. A small laser tool projects a true 90-degree line from your first mark. It’s the fastest and most accurate method, and the best choice when something like a hot tub sits in the way and you can’t measure corner to corner.
The 3-4-5 method. From one corner mark, measure 3 feet along one side and make a mark, then 4 feet along the other side and make a mark. If the distance between those two marks is exactly 5 feet, the corner is square. For a larger footprint, use 6-8-10 or 9-12-15 for more accuracy.
Matching diagonals. Measure from corner to corner both ways. If the two diagonals are the same length, the layout is square. If they differ, adjust the marks until they match.
Check the spacing against the beam
If you’re ever in doubt about exactly where a post should go, measure the beam. Measure from the outside edge of the beam, not from the dovetail, down to the matching edge at the other end. That distance is your post spacing.


Why it matters
A square layout is what lets a pre-cut kit go together the way it was designed, from a backyard pergola to a pavilion over a deck.


Continue the install series
New here? Start at Step 1 — Time-Lapse Install, or see every video at Pergola Kit Installation University. For the tools you’ll need, see tools to install a timber frame kit.
Have questions about your kit?
Every Western Timber Frame kit ships pre-cut, pre-stained, and pre-drilled with a step-by-step manual, so most pergolas go up in an afternoon to a day. Request a free design consultation, or call (877) 870-8755 (9 am–5 pm MST).
Western Timber Frame™ — Payson, Utah | Since 2008 | 7,000+ structures in all 50 states
2026 SBA Manufacturing Award | HGTV Design Excellence Award | 28 Best of State Awards