How to Cosmetically Repair Extreme Checking in Heavy Timber

TIMBER PERGOLA, PAVILIONS, TRELLISES AND ARBORS
Step by Step Instructions to Cosmetically Repair Checking in Heavy Timber
Hi, I am Mark with Western Timber Frame™. Today, we are going to talk about how to patch extreme checking in timbers when that occurs. This is just a cosmetic fix for checking, if it is an extreme case. When you have checking it can occur over the first year of having your timber product. If that happens you will want to wait for at least a year before applying this technique.
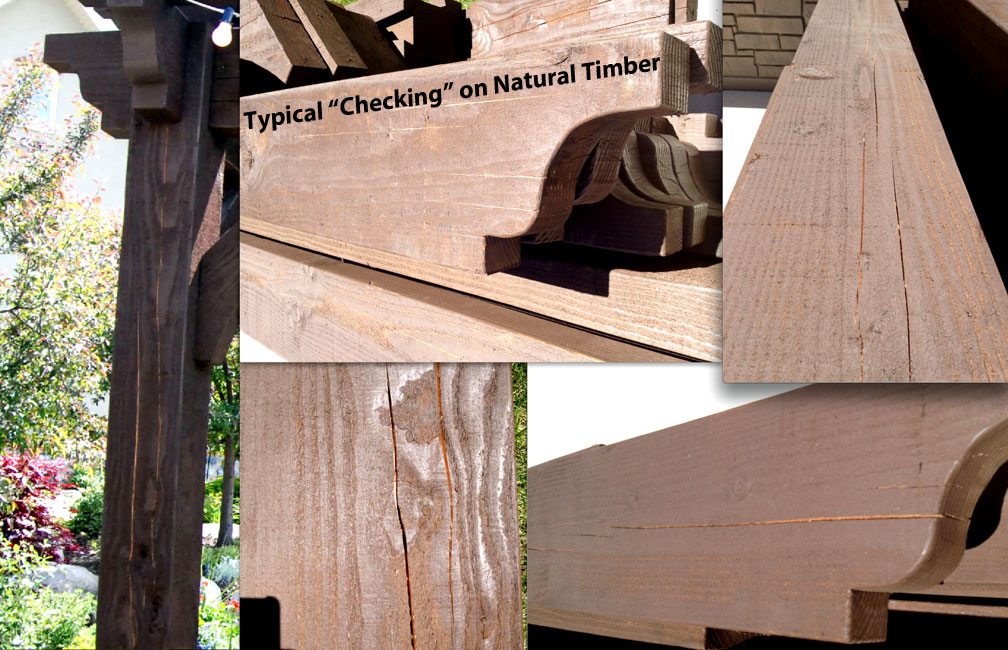
The reason why is that when timbers check they dry faster on the outside than they do on the inside and they open up and crack. That is the natural process of timber. As it dries the rest of the way through the center the gap can actually close back up a little bit. So, you want to wait until it is done moving and is completely dried out before you try this process because anything that you fill these cracks with could tend to try to push it back out or hold it before coming back together as it fires the rest of the way through center the timbers.
As I have mentioned the larger the timbers are, checking can be greater, especially in bigger timbers and also in cedar timbers.
So, what we have in front of us here today is a piece of wood that's been in our yard for over a year. This is a piece of cedar and as you can see it has a huge crack in it. This still, if I were to show you the ends, this goes in about an inch, inch and a half at the most. It is not a structural issue. It is just cosmetic. So, here is how we would fix something like this.
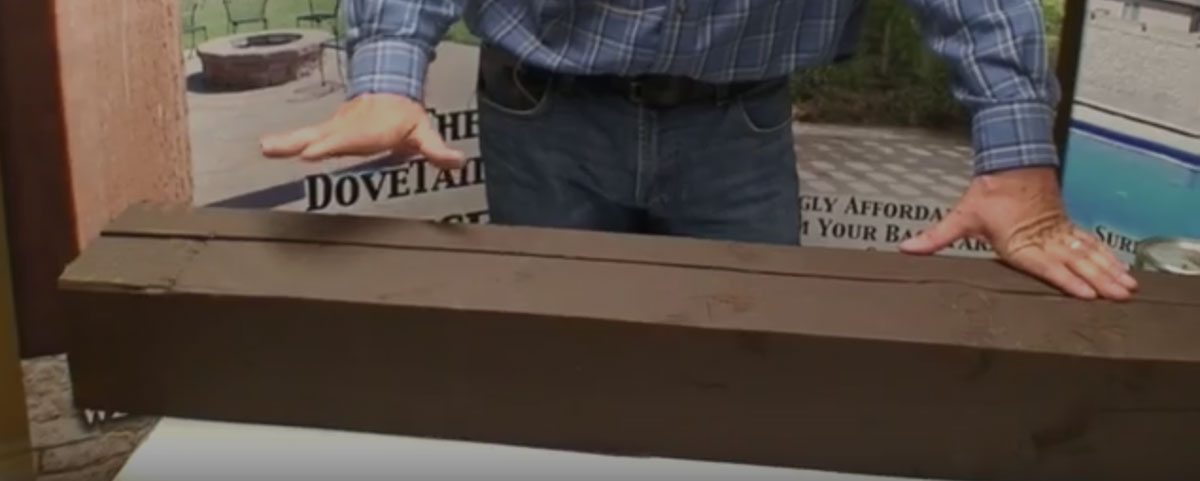
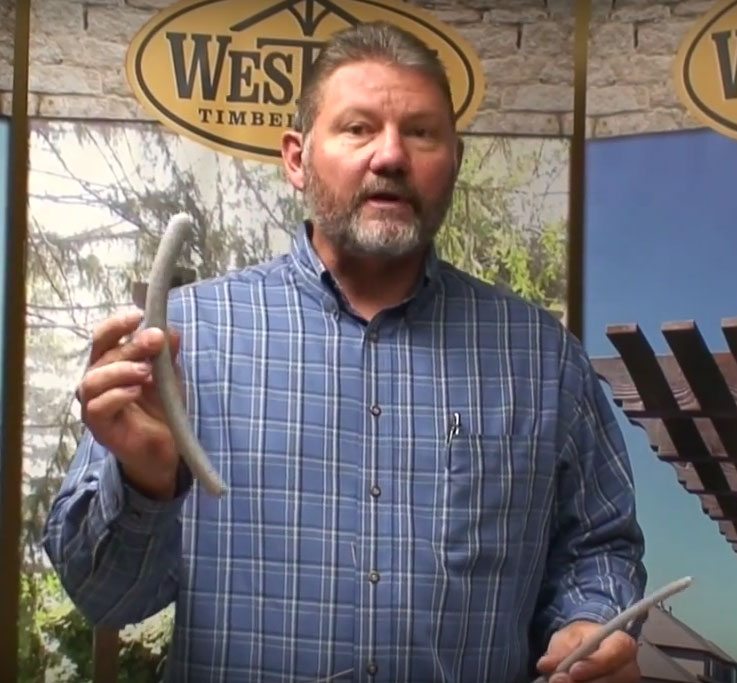
First of all you can get this backer rod. you can get this at probably any of your local hardware stores. It is just a foam rod they make it in different diameters. This is three-eights (3/8) and this is three-quarters (3/4). So, you can get it in different diameters depending upon the different size cracks you are trying to fill. And what this does is just save you from putting a whole lot of caulk. It would be a waste of caulk to try and fill this whole joint up. Use backer rod to save you some of that caulk. Just push it down in there. This piece took about a curve as it went around the big knot here. So, that is just basically what you would do. You want to get it down so it is not trying to stick up. We are not trying to not have any caulk in here. We are trying to get a good bead of caulk, just not waste it filling up an inch deep groove. Now, I wouldn't worry too much about the diameter of your backer rod because you can very easily, see this three quarters is way to big here. We can just take a knife, cut that down, and just whittle that down to whatever you need and fill that in. So, if you are going to buy backer rod it is better if you bought too big of a piece than too small because you can very easily cut it down as I just showed you.
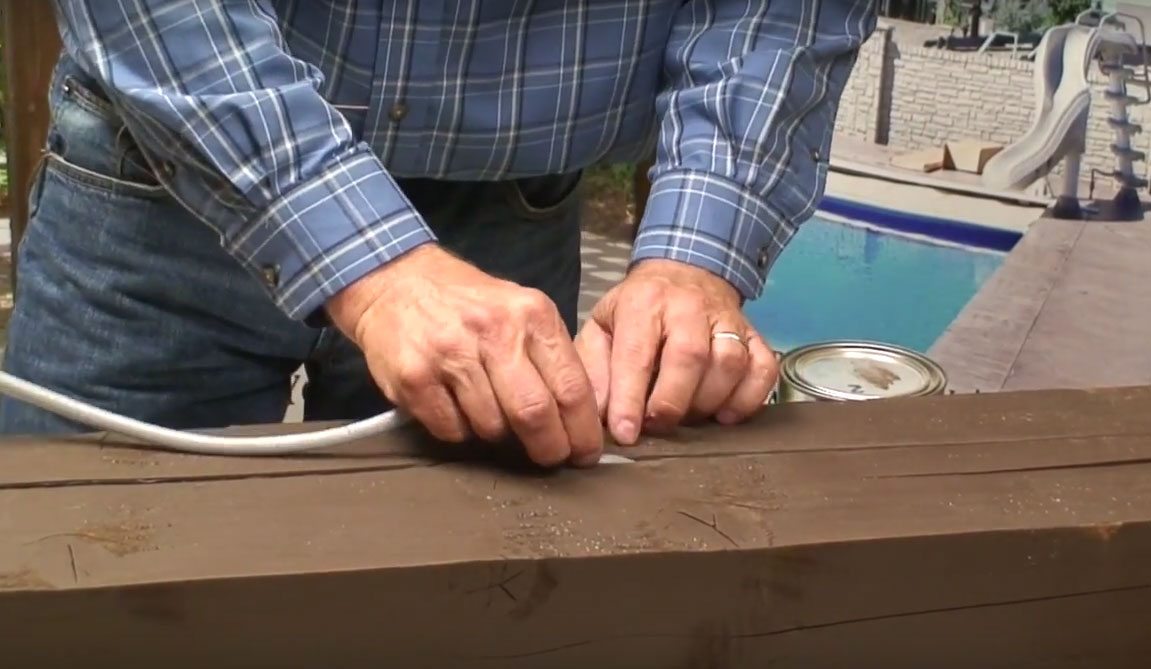
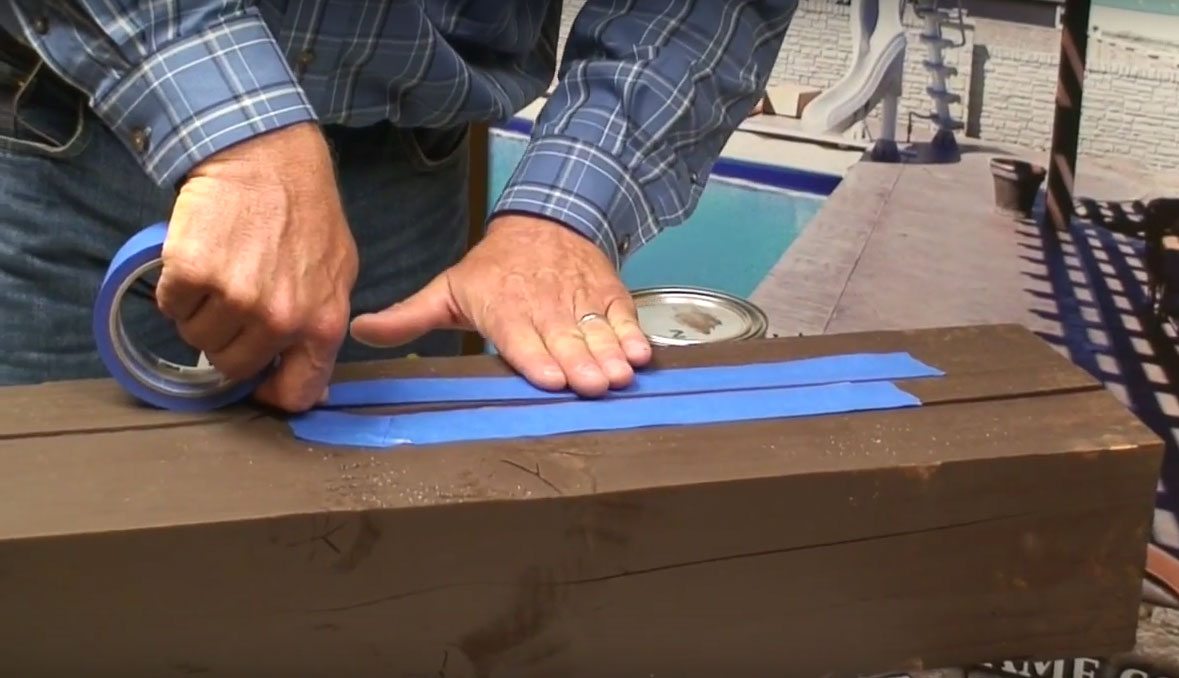
I am not going to caulk this whole thing but the next thing I would do is if its on your kit and its been out there for over a year, you are probably want to keep from getting the caulk everywhere. So, you can just take some blue painters tape; kind of tape right along the edge of this. This is not a straight groove at all but you can kind of just push it down around the corners just to keep from getting your caulk everywhere. You can fold it to get the angles you need; trim off a piece. Okay, that's showing an extreme case there how to build with that now I am going to put that down on both sides. This will just save you a lot of hold up after you are done caulking. So anyway, something to that effect. We are not going to do the whole entire board here. We are just trying to put down the example. Okay, we have the backer rod in. We have prepped it with tape. We want that backer rod down it there good. We don’t want it too close to the surface because we want a good bead of caulk on top of that.
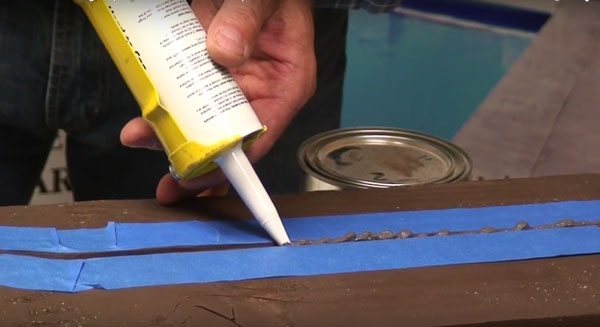
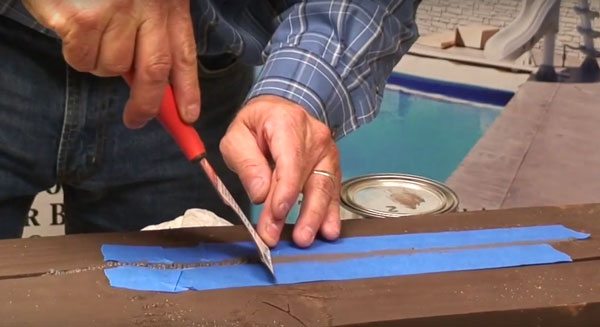
This is the textured caulk that is for wood. This is stuff that is a little harder to find. You can call us and we will provide you with the color that you need. It comes in several different colors. This one goes pretty good with our Rich Cordoba which is the stain that we have on here. It is not a perfect match but at the end of the day it will change color a little bit and lighten up when it is dry. I am getting it in there fairly thick because I am just going to take a knife and scrape it off when we are done. Now the color is not too critical on this because this will take a stain and you can just touch it up with your touch up stain when you are done so that that will take care of any different variation in color between the caulk and the board. I like to use something that is close so I don't have a dark caulk behind a light color and have hat kind of showing through or being a little bit harder to cover. With the solid stains that we use it is usually not an issue to try to cover that. Okay, we have got a bead in there, we just take some kind of a knife and just scrape that excess off. That is basically the concept that we are after is getting that down over those grooves good. You want a nice bead of caulk on there. Now if this was a finished product in your home I would probably spend a little more time getting this perfect but that gives you the idea. There is a pretty good joint right there. After about two hours this is going to get pretty rubbery to where you can come back and stain over it. So we will give it some time and come back and show you what it is going to look like when we take the tape off and then we will stain it up.
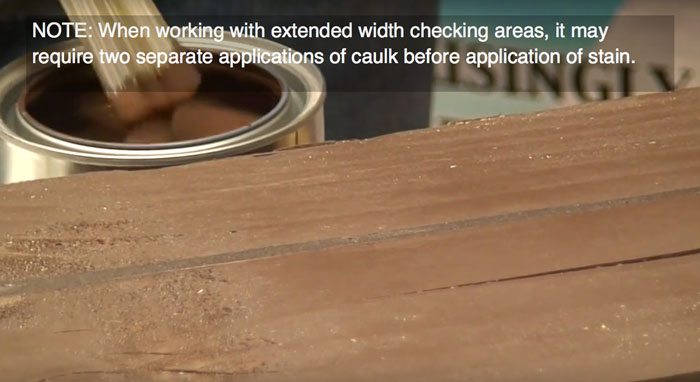
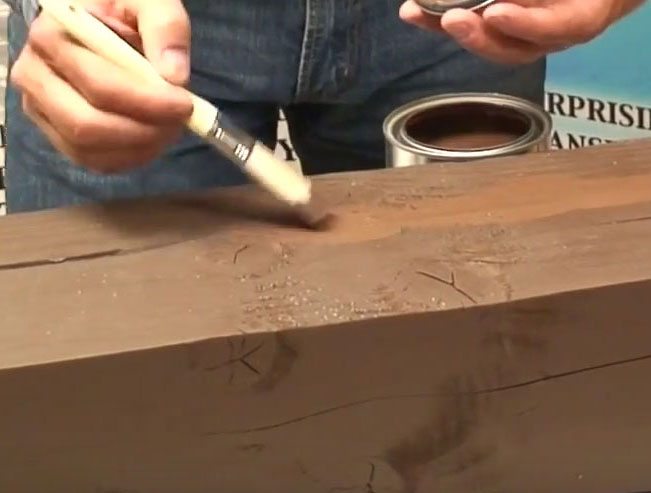
All right we have given this caulk some time to dry. So, at this point we would just come and take the blue tape off and we got a nice clean edge there. We haven't got caulk all over our timbers and then you can see that this color is not exact as it dries. It is not a big deal. At this point you can just take the touch up stain and just stain that, blend that in, and there you go. When that stain dries it will be the same color. And you can still see the end of the joint there from the checking but is certainly better than it was before with that big checking gap across it. so, that is our process. That is how we would handle extreme checking for a cosmetic fix on that.
Again, the biggest thing people have is that they think this is a structural issue and it is not. To me if this was my job I would leave checking and just stain down in it. I think it adds character to the timbers to have these deep cracks and lines. I would just get the stain down in there and seal it up. But if you don’t like that look and it bothers you, you can fix it. Thanks.
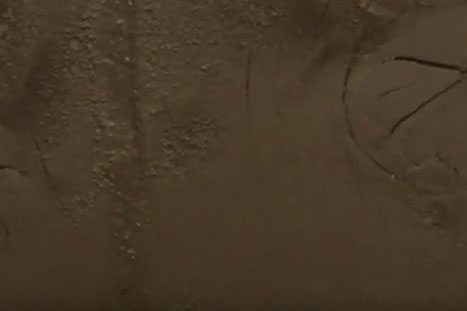
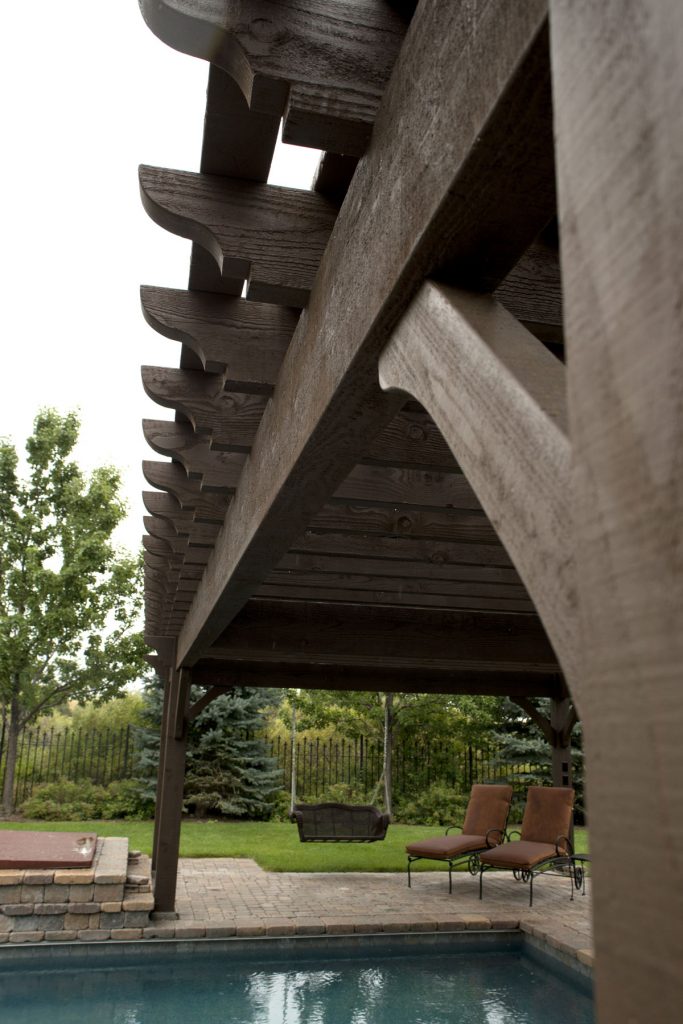
Here is a close up image of the checking area after the caulk and stain have been applied. Note how the area appears very similar to the natural grain of the rough-sawn heavy timbers.
How to Cosmetically Repair Extreme Checking in Timber



4 Comments
The cracks I'll be filling are mostly vertical and outside supporting a roof similar to the Pergola on your website.
I am new a this and have a question.
When the checking is filled with backer rod, chalked, and painted is there any concern that moisture (sap)
will still come back where the crack was filled or cause more cracks on the beam?
Thank you for taking the time to answer my question.
Also I tried to find the caulk you recommend on your website but could not find it.
Is this something I just call and order?
Thank you for taking the time to answer my question.
Thank you
I freelance for Western to direct and make sure no comment goes without notice. But this is a question I've never been asked before. If you call the office at 1-801-331-6690 during work hours Monday – Friday, 9 a.m. – 5 p.m. MST, they will help you and direct you to the right person or someone who will answer your question.
Have a wonderful weekend,
-Marilynn
Leave a Comment