How to Install a DIY Timber Framed Pergola Kit; Setting the Knee Braces 8/12
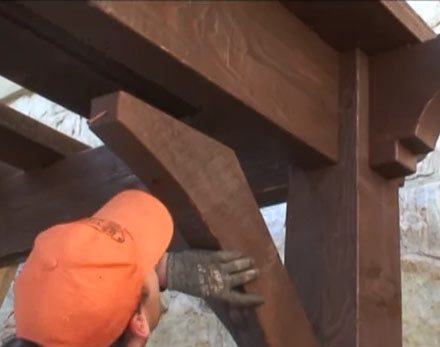
 We are ready to put the knee braces up. We have a three inch tack screw that we use to tack it on initially. We will center it up on the post there and just put the three inch tack screw in. That is just going to really hold it in place until we are ready to put the lag in through the bigger holes and then we have plugs for there as well.
 Once all the knee braces are tacked and we got the lags and we have got them plugged then we can take off the temporary braces here. Now that all the knee braces are tacked on here we will go ahead and lag then and make sure these knee braces are square and straight.
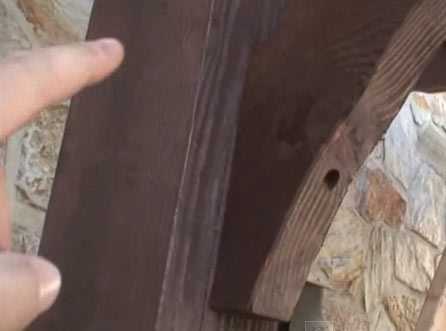 If your pergola kit has been sitting awhile after it is delivered before you install it one thing you may want to check is the long cut at the top or the sides of the knee braces may need to be trimmed just a little bit. The other reason this could occur if this wasn’t completely tight is that would probably be an indicator that your post wasn’t completely level. As long as you are keeping everything plumb and level then the installation process will go really slick.
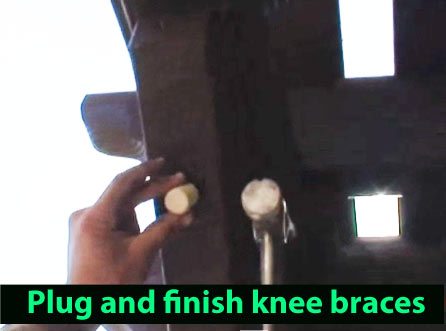 We are going to put in the plugs now. Make sure you have a smooth head hammer. Go ahead and pound in your plugs. If you use a heavy waffle hammer it is going to really mark it up.
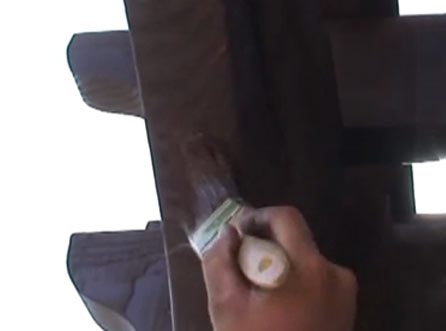
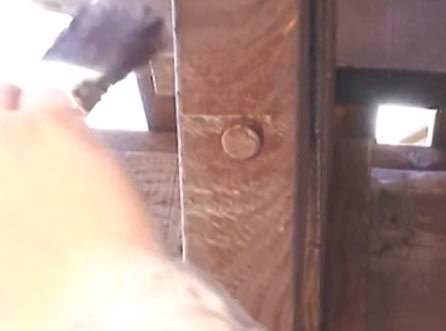 So once they are plugged both sides we will go ahead and just touch them up with some stain there. We leave the plugs sticking out about 1/4 of an inch.
How to Install a DIY Timber Framed Pergola Kit; Prep for Posts 5/12
How to Install a DIY Timber Framed Pergola Kit; Setting the Posts & Beams 6/12
How to Install a DIY Timber Framed Pergola Kit; Fasten Beams & Level 7/12
How to Install a DIY Timber Framed Pergola Kit; Setting the Knee Braces 8/12
DIY Timber Framed Pergola Kit; Setting Roof Rafters & Shade Planks 9/12
How to Install a DIY Timber Framed Pergola Kit; Touch Up 10/12
How to Install a DIY Timber Framed Pergola Kit; Attached Pergola 11/12
How to Install a DIY Timber Framed Pergola Kit; Other Notes 12/12
Our project managers can help you design your timber framed pergola kit. Click HERE or Call Today! 877-870-8755


Leave a Comment