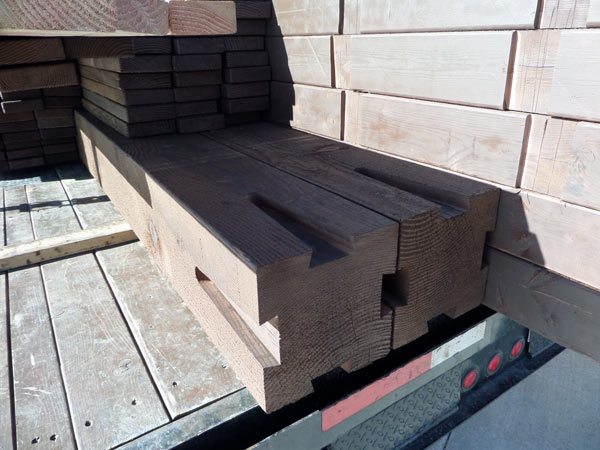
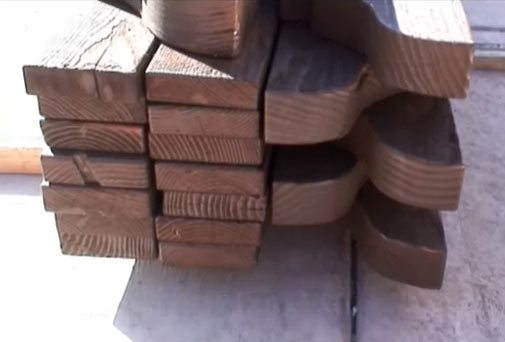
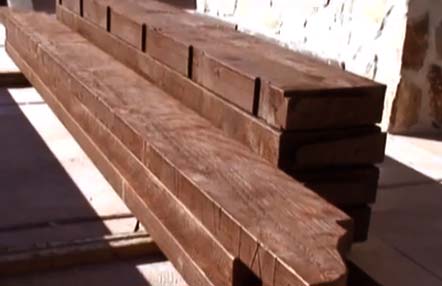
When you first get your kit we suggest you lay it out on either some grass or put some two by fours under it if you are going to lay it on some concrete because sometimes the stain is still a little bit wet, a little bit tacky and so for respect of our clients we keep it up off the ground on some two by fours. But just lay it all out so you have all your parts and pieces and make sure that there is not any major problems or issues with the wood, anything broken. Keep in mind that there is natural defects in the wood. Even though we use number one appearance grade timber, you will still always have, you know, minor things that are flaws in the wood because the wood is raw, raw timber, rough sawn timber.
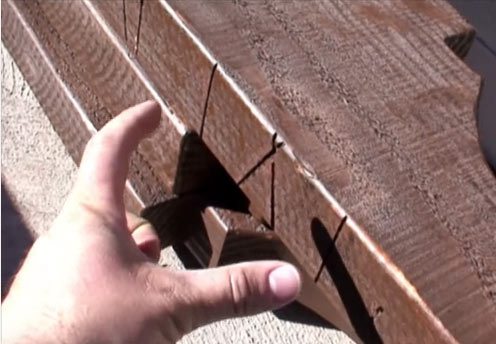
Double check that and just make sure that you are not missing any parts. Another thing to consider when you are laying out all your timber and just reviewing it, making sure every part and piece is there, you are going to notice that there is typically going to be three rafters that have markings on the top. Those markings are the layouts for your two by six or two by four top shade planks. So this here would be the outside marking of the two by six with the “X” in the middle.
That is going to be your first two by six on the ends and then we've got a mark. Then we have a straight line and layout to go, so layout and go, layout and go, layout and go, all the way down. So we send out three of these so you can be one on each end and put one in the middle. That will help you to know where to screw your two by sixes down. And it will also help keep them straight. Sometimes the two by fours and two by sixes will come out a little bit crooked because from the time they have been manufactured until the time they are installed then they have warped just a little being natural wood and those layouts are going to help keep them straight.
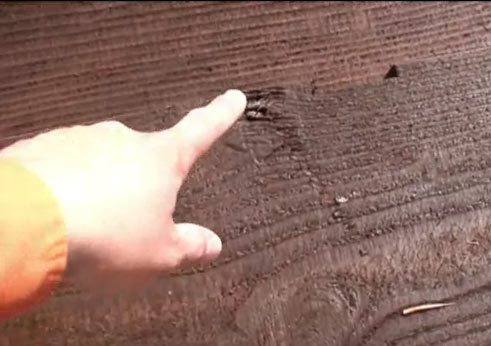
Here is the post. Here you will notice that there is also some minor defects on some of the posts and even as much as just little nicks and dings that may be in the raw timber. Another thing to keep in mind even though this is dark beautiful piece of wood in these posts, it will as it is outside begin to check a little bit. You may have a little bit of surface cracking and begin to open up and show the unstained wood beneath so you’ll have things like this that will begin to open up just a little bit. It is completely normal and it will come to a point where it won't open up any more. But but the time you have the next coat of stain you put on it it will completely go away. So we will show some further pictures of that or look at the video on checking.
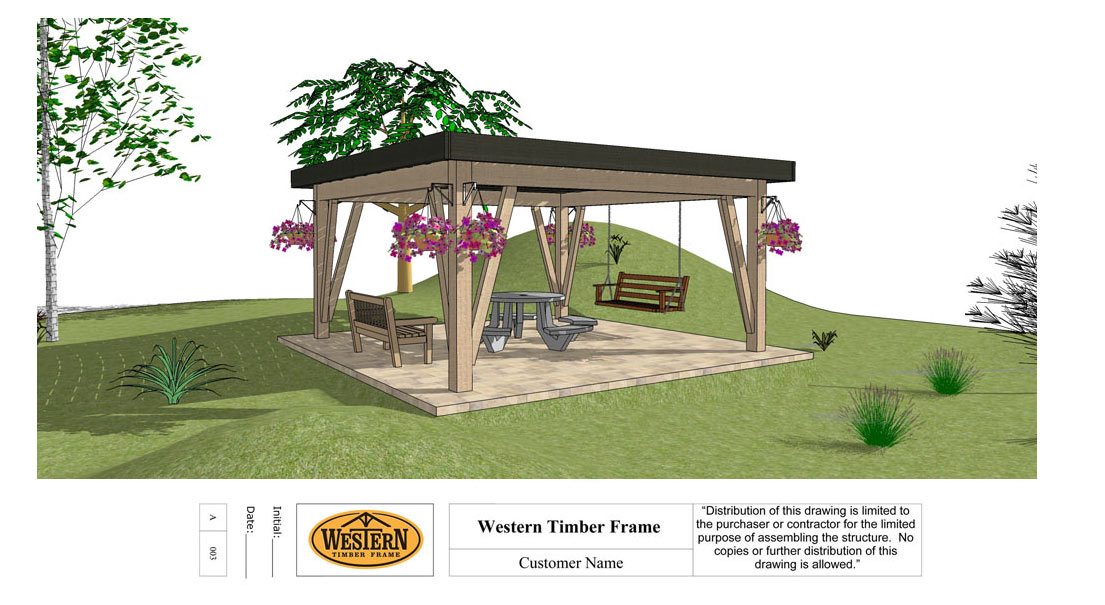
You will also notice in most cases if you have a standard pergola kit, we’ve got two load beams that will have rafter layouts already notched in for you. That’s going to help keep it convenient for the layout to already be there. You will just drop the rafter in those layouts and make sure you have the proper overhang on each end and then you will be able to fasten the rafters down to the post or to these lower support beams. The other reason for these notches is it is going to help the rafter the bottom of the rafter not to warp and twist out as much either.
Continue to:
How to Install a DIY Timber Framed Pergola Kit; Square Up Posts 3/12.

Our project managers can help you design your timber frame pergola kit. Click HERE or Call Today! 877-870-8755


Share This Story, Choose Your Platform!
Leave a Comment