Attaching an Attached DIY Timber Frame Pergola Kit Over a Deck
This morning we are here in Orem Utah. And these clients here have been great to work with. They contacted us initially to solve a problem they had. They have an existing open deck and they really wanted to make it make it larger. At the same time put a shade structure, a pergola kit over that deck. We had some initial challenges because they wanted to attach this structure to the house and put a slope to it and have that slope of the roof pop out on the home, missing the roof. I think with our designers and our team of architects here in the office we were able to overcome that challenge, with no problem, so we are to get started.
One of the unique features of this project is attaching the ledger to the actual home itself; which will bear part of the weight of the roof and calculate the slope to make sure that the ledger is going to be high enough to the front is going to miss this roof. So the longest part of the installation process is the layout ensuring that the post-placement is accurate and they are in the right spot because they are permanent or making sure that the ledger that is being attached to the side of the home is at the appropriate height because all of this timber that we are putting up is pre-measured, designed by our architects, cut out in our manufacturing facility. Everything is pre-made at our shop before they come out. So if the layouts are not correlating with the dimensions on the plans then we are not getting those measurements accurately not the home or on the post placements then we would be in trouble there.
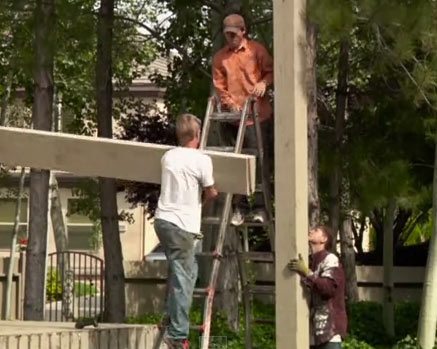
 So once the posts are stood here, we are going to be dropping in these main support beams and yo can see that they just interlock here with the dovetail interlocking method that we have designed here and it is just a smooth lock in and fastened in with a couple of lags there at the top but that’s just a precautionary measure cause that dovetail’s going to last forever. We will end up putting a couple of knee braces under for extra support.
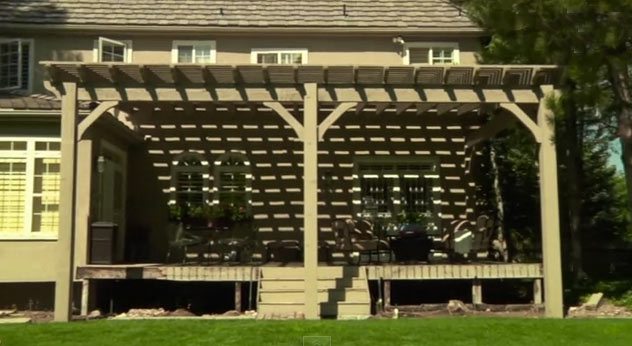
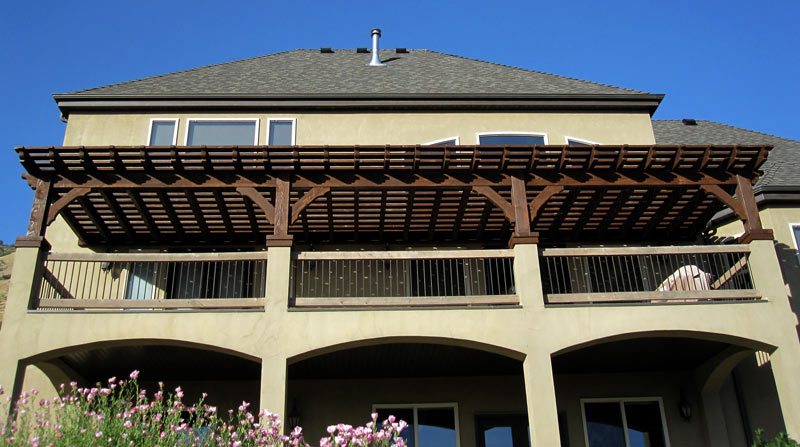 A 12' x 40' DIY attached timber frame pergola kit with a UV protected Early American stained finish.
/*osborns*/


Leave a Comment